
My pantry used to be the room I avoided. I would open the door, stare at the wall of loose bags and toppling cans, and quietly close it again. Dinner planning felt impossible when I could not tell at a glance whether we had pasta or if someone had finished it and left the empty box. Sound familiar? The problem was not that I had too much stuff. It was that nothing had a designated place, so nothing ever got put back in the right spot. My kids, who are seven, ten, and thirteen, had zero chance of maintaining a system that did not exist.
The fix was not a full renovation or a Pinterest-perfect wooden shelf reno. It was a set of clear bins and about two hours on a Saturday afternoon. Specifically, the YIHONG 6-pack clear pantry bins with the built-in handles became the workhorse of my entire pantry system. Clear bins changed everything because my family could see what was inside without opening anything, and the handles meant even my youngest could pull a bin out and push it back without knocking over half the shelf. In this guide I am walking you through exactly how I did it, in the order I did it, including the mistakes I made the first time so you can skip them.
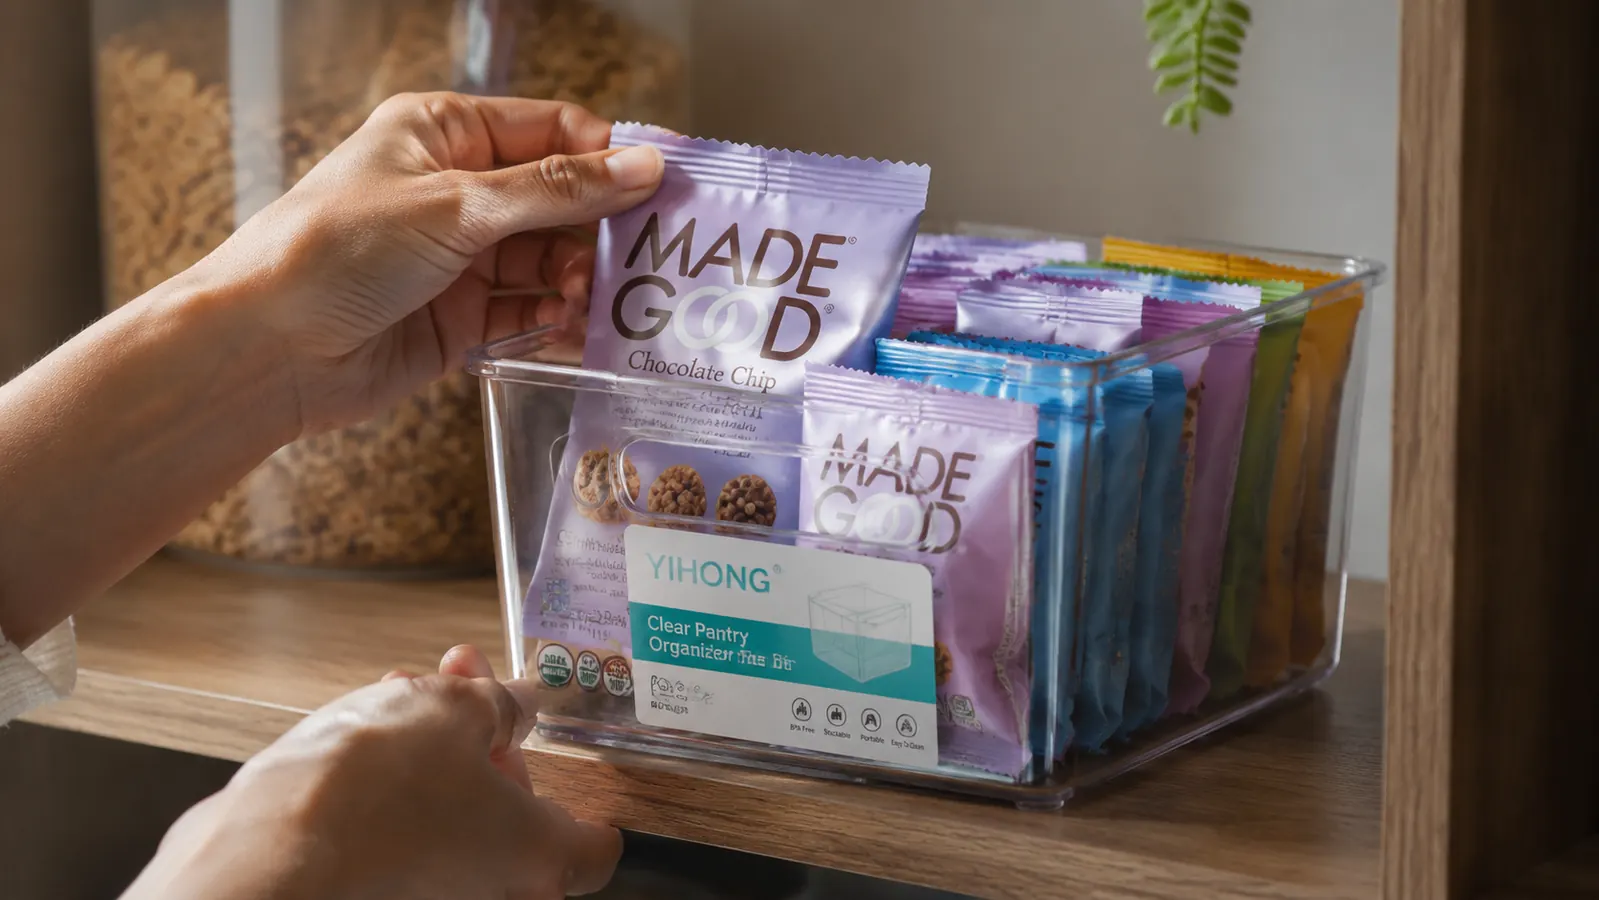
If you have been putting off the pantry project because you do not know what to buy first, these are the bins I used.
The YIHONG 6-pack comes with handles, fits most standard pantry shelves, and is clear enough to see contents at a glance. Check current availability on Amazon before you start your purge so the bins arrive before motivation fades.
Amazon Check Today's Price on Amazon →Step 1: Pull Everything Out and Put It on the Counter
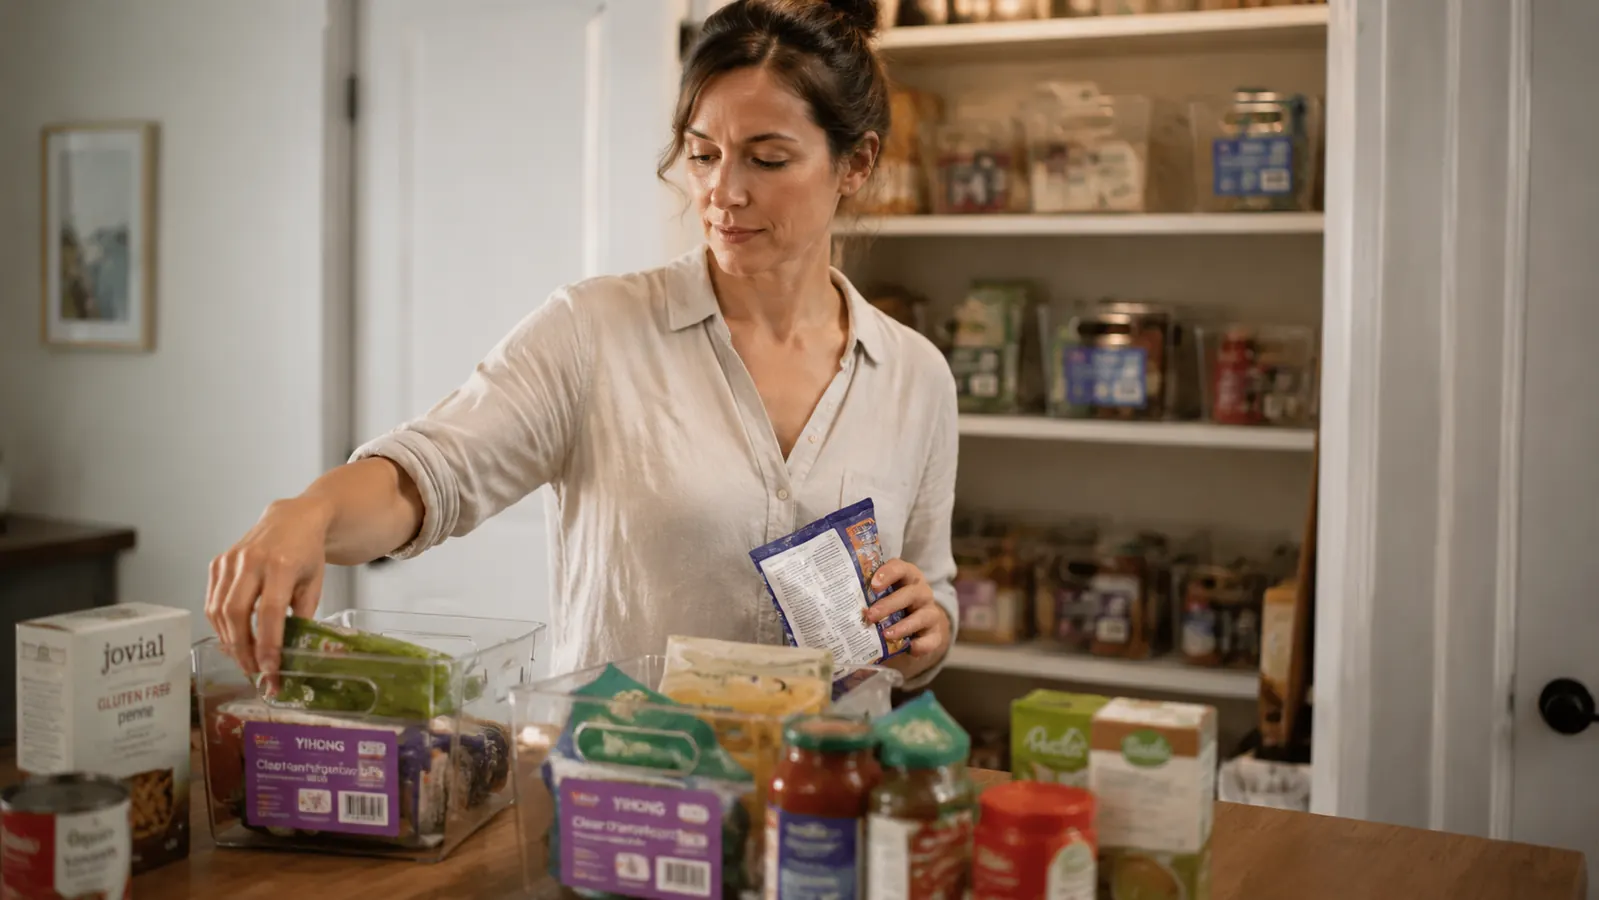
I know. This is the step that feels the worst before you do it. But you cannot organize a pantry without seeing what you actually have. Grab a folding table or use your kitchen counter and clear it off. Then take every single item off every shelf and put it on the counter. Do not sort yet, and do not try to make decisions while you are pulling things out. Just get it all into the light.
While the shelves are empty, wipe them down. This takes four minutes and you will be glad you did it. There is almost always a sticky spot where syrup or olive oil leaked at some point. Clean it now because you will not want to move everything out again later. If your pantry has wire shelving, consider laying a shelf liner down before the bins go back in. Bins on wire shelves tend to tip slightly forward, and a liner stops that.
Once everything is on the counter, do a quick expiration-date pass. Pull anything expired and toss it immediately. Do not overthink it. This is the part where most people find three cans of chickpeas they forgot they bought and a half-used packet of taco seasoning from 2022. Into the trash it goes. You are not purging for minimalism. You are purging so you only store things you will actually use, which makes the next step a lot cleaner.
Step 2: Sort into Categories That Match How Your Family Eats
Here is where most pantry organization advice loses people: it tells you to use categories like "baking" and "grains" without accounting for how your specific family actually looks for food. In my house, the real categories are: school snacks, breakfast stuff, pasta and rice, canned goods, baking supplies, and drinks and drink mixes. Not "grains." Breakfast stuff. The language has to match how your family thinks about food, otherwise the system falls apart within a week.
Take your pile on the counter and group it by the categories that fit your household. Do not force your items into someone else's system. If your family eats a lot of Asian pantry staples, that might be its own bin. If you bake every weekend, baking supplies deserves a dedicated spot and probably more than one bin. Write your category names down on a piece of paper before you commit to anything. This makes the next step faster.
The categories you create will also tell you how many clear bins you need and what sizes. A family that bakes often needs a bigger bin for flour and sugar than a family that mostly does simple weeknight cooking. At this stage, just group loosely and count the piles. That count is your shopping list. If you end up with eight categories, you know to order at least eight bins, probably ten so you have a couple of extras for future shelf additions.
Step 3: Measure Your Shelves and Choose the Right Bin Size
I skipped this step the first time I tried to organize my pantry and I ended up with bins that were half an inch too tall for my middle shelf. Do not be me. Before you order anything, measure the clear depth, width, and height of each shelf opening you plan to use. Also measure the depth of the shelf itself, because some pantry shelves are shallower than you expect, especially in older homes.
The YIHONG bins I use measure approximately 12.4 inches long by 6.5 inches wide by 4.3 inches tall. They fit two across on a standard 13-inch deep pantry shelf with a little breathing room. If your shelves are narrower or deeper, check the product dimensions carefully before ordering. Most standard pantry shelves in the 12 to 14 inch depth range work perfectly with these bins. The handles add no height because they are cut into the front face of the bin rather than raised above the rim. That was a detail that mattered to me because my shelves have relatively low clearance between tiers.
For snacks and small-packet items, a medium bin is usually ideal. For heavier items like canned goods, you generally want a wider, shorter bin with a sturdy flat base. For cereal boxes, they often do best standing upright on the shelf or in a bin with lower sides so the box is easy to grab by the top. Plan your bin sizes by category and item weight, not just by which shelf has space.
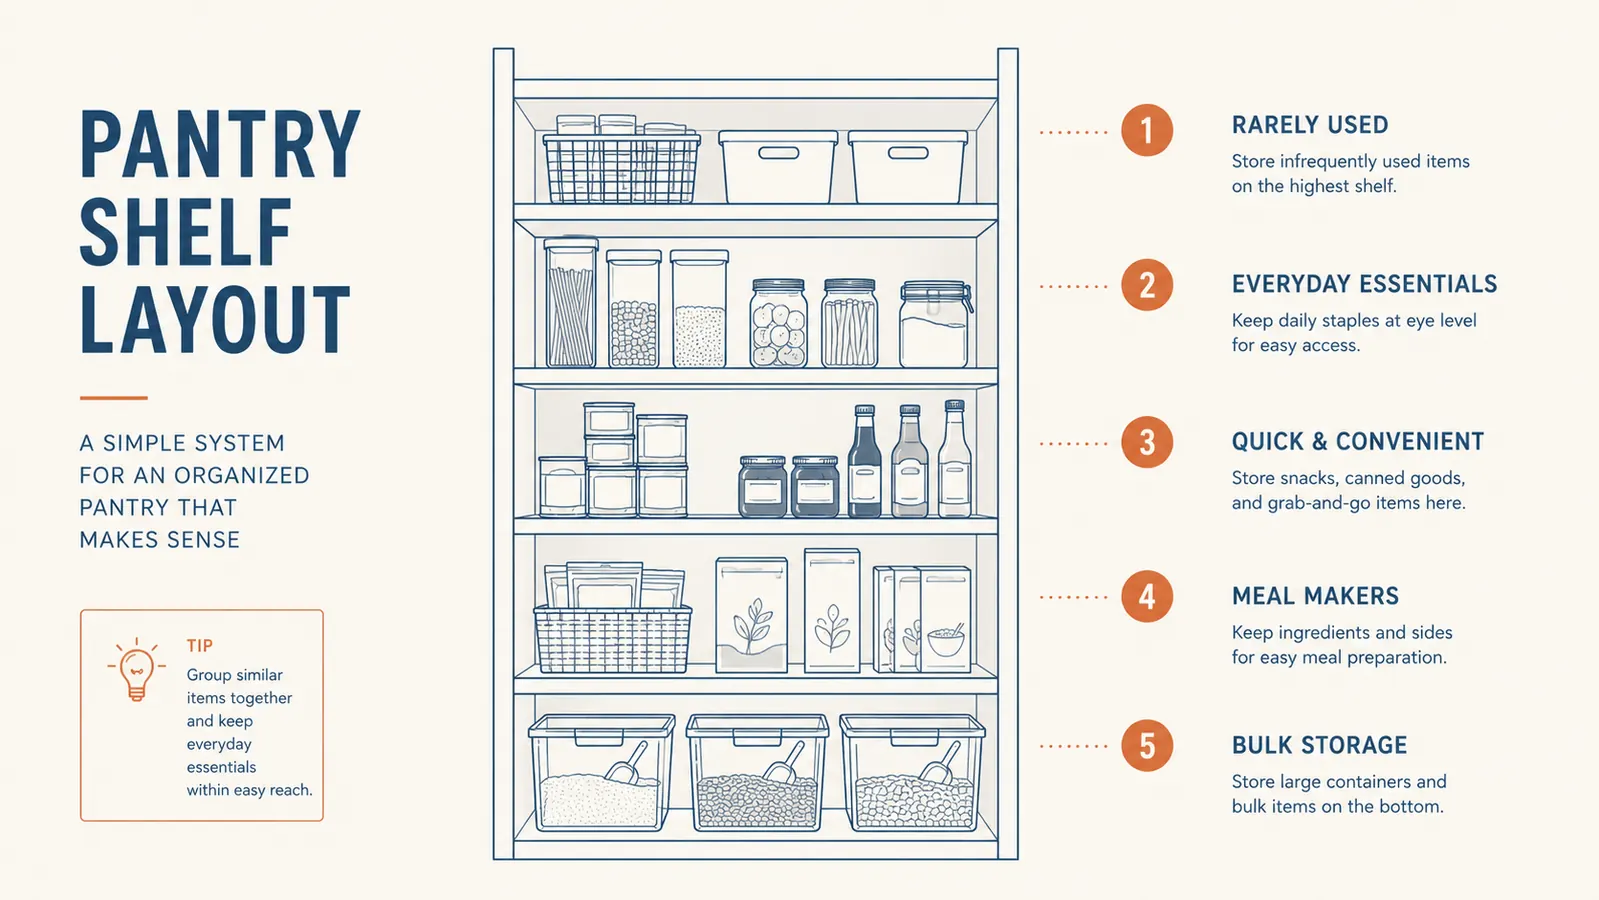
Step 4: Load the Bins and Assign Each Shelf a Zone
Now the actually enjoyable part. Fill each bin with its category items, keeping the heaviest bins on lower shelves and the items used most often at eye level. In my pantry, eye level is snacks and pasta because we reach for those every single day. Baking supplies live on the top shelf because I bake on weekends, not at six on a Tuesday when everyone is hungry and needs dinner in twenty minutes.
Put kids' snack bins on the lowest reachable shelf you are comfortable with. My youngest can pull the snack bin out, grab a granola bar, and slide it back without my help. That single change noticeably reduced the "Mom, where is my snack" loop in our house. The clear sides mean he can see inside without pulling the bin all the way out, which means it actually lands back on the shelf instead of ending up abandoned on the counter.
As you load each shelf, step back and look at it from the doorway. Can you see into every bin? Can you identify what category each bin holds without reading a label? If the answer is no to either question, rearrange until the answer is yes. Clear bins only work as intended if they are positioned so you can actually see through them when you are standing in front of the open pantry door, not just when you are crouching on the floor to peek.
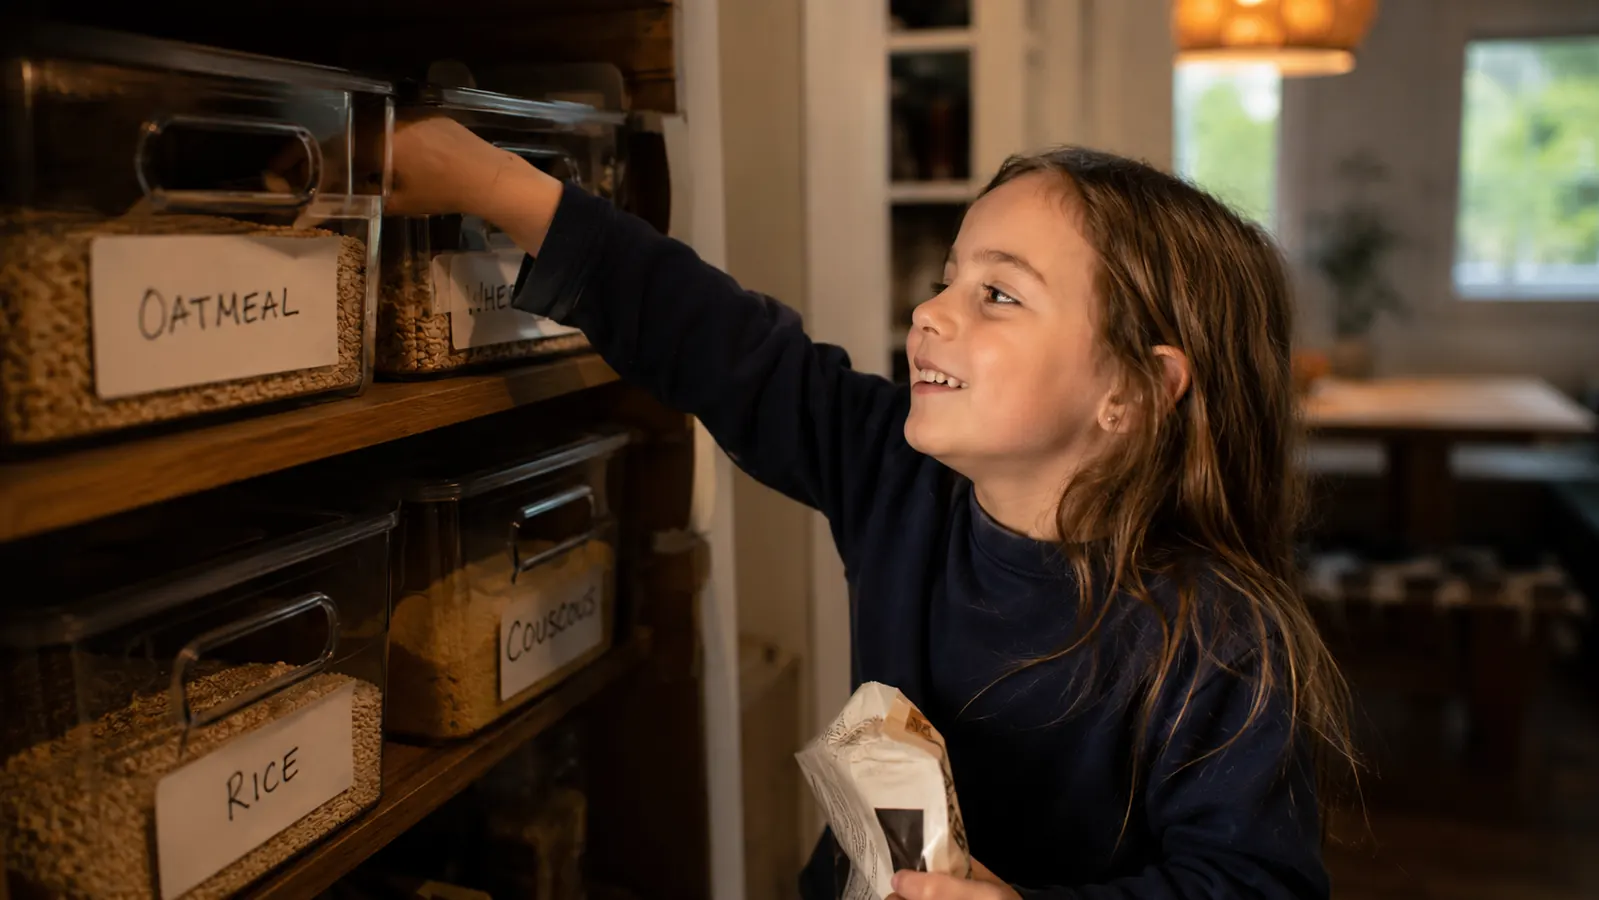
Step 5: Label Every Bin and Walk Your Family Through the System
Labels are what turn a one-time organization project into a system that survives contact with your family. You do not need a label maker, though they do look tidy. Masking tape and a black marker works fine. Write the category name on the front face of each bin in large block letters so there is zero ambiguity about which bin is the snack bin versus the breakfast bin versus the pasta bin.
Then spend five minutes showing your family where everything lives. Walk your kids through the pantry and say out loud: "Snacks live here. Pasta lives here. Cereal lives here. If you take something out, slide the bin back in." My ten-year-old had the whole system memorized after two days. My seven-year-old needed one reminder. My thirteen-year-old, who I expected to roll his eyes and ignore the whole thing, turned out to be the most enthusiastic about it because he could find chips without having to ask me.
The maintenance routine after that is simple: once a week, usually when I put away groceries, I do a two-minute scan. If a bin is mostly empty I know to add that category to the shopping list. If something is in the wrong bin I put it back. That is it. The clear sides make the weekly scan genuinely fast because I can assess every bin without touching a single one.
The labels are not for me. I already know where everything is. The labels are for everyone else in the house so the system runs without me being the pantry police every single evening.
What Else Helps
Clear bins do the heavy lifting, but a few small additions make the whole system tighter. A turntable on a deep shelf keeps condiment bottles and spice jars from disappearing to the back. A small chalkboard or whiteboard on the inside of the pantry door works beautifully as a running grocery list: as soon as a bin gets noticeably low, whoever notices it writes the item down. Shelf liner prevents bins from sliding on smooth or wire surfaces. And if you have a door on your pantry, an over-door pocket organizer for small packets, seasoning mixes, and single-serve drink mixes frees up an entire shelf without adding a single bin. For more detail on how clear bins compare against other pantry storage options, see the breakdown in the clear bins vs baskets comparison. And for a full honest look at how the YIHONG bins held up over six months of actual daily family use, including the one detail I would change, read the YIHONG clear pantry bins long-term review.
Ready to start? These are the clear bins I keep reordering when a shelf needs a refresh.
The YIHONG 6-pack comes with six bins, handles that are genuinely useful, and clear sides that show contents at a glance. Over 6,900 reviewers give it 4.7 stars. Check current pricing and availability on Amazon and order before you do your purge so the bins are ready when motivation is high.
Amazon Check Today's Price on Amazon →