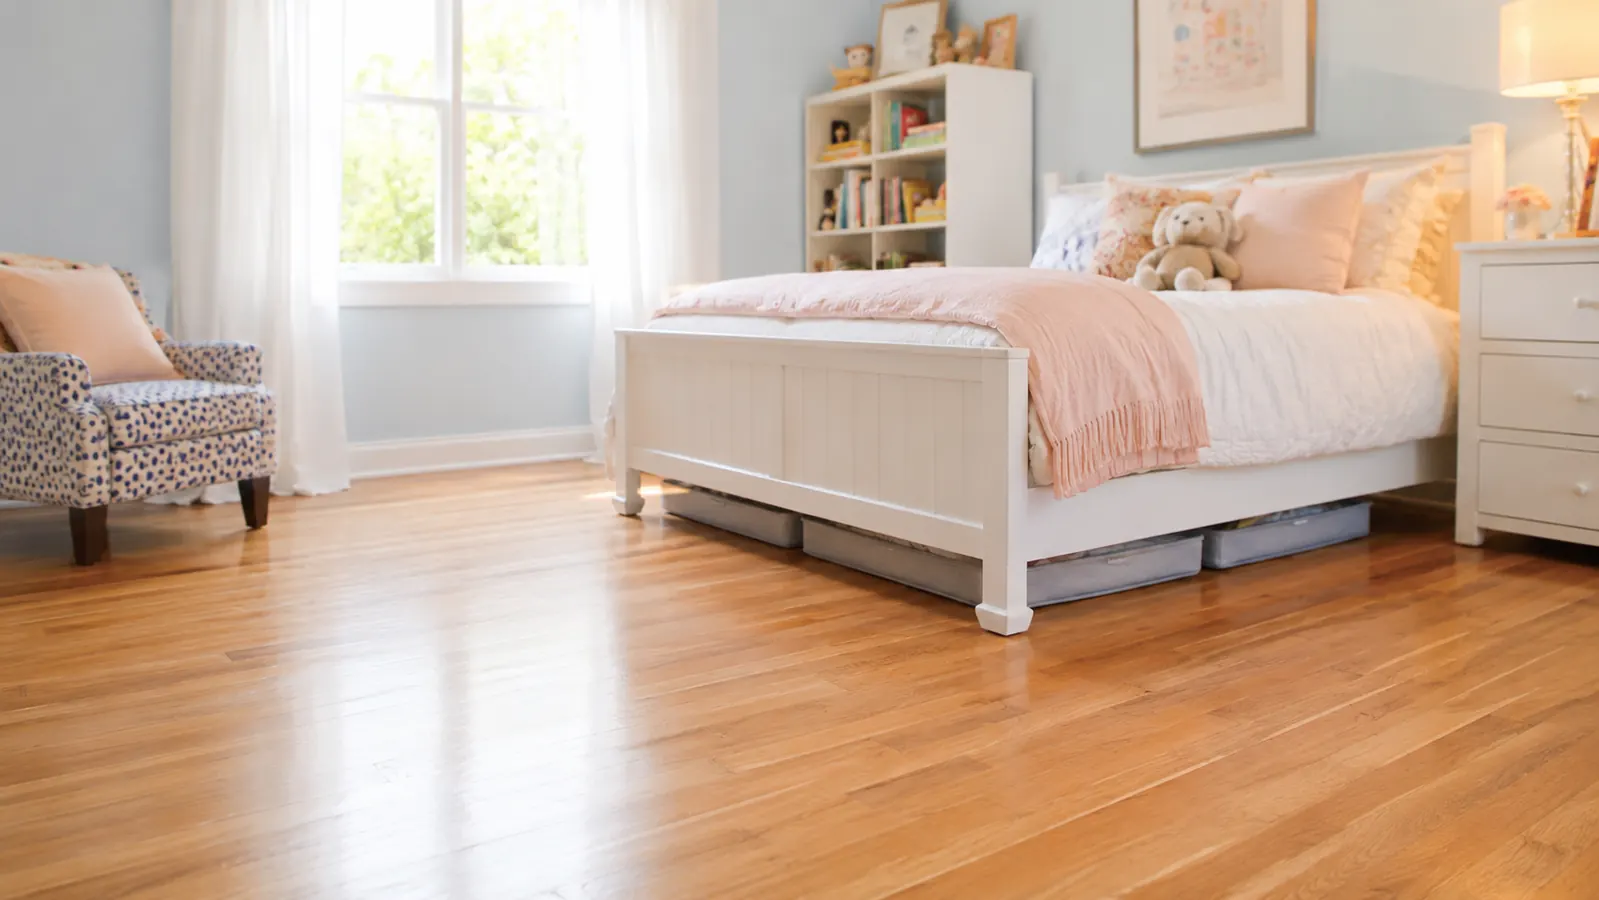
My daughter Lily's bedroom floor was a trip hazard for most of last year. Sneakers by the door, cleats near the closet, a pile of extra blankets that never made it back onto the shelf. I kept asking her to clean it up. She would, for about two days. Then it would creep back. The floor was not the problem. The storage system was the problem, because there was not one. The real fix was about twelve inches below the mattress, in the space under her bed that we had been completely ignoring.
Under-bed storage is the most overlooked square footage in most homes. A standard twin or full bed sits over anywhere from 50 to 90 square feet of usable floor space, and most families fill it with dust bunnies or random bins that slide around and never get touched. When you approach it as a real system rather than a dumping ground, that space can hold a season's worth of shoes, off-rotation gear, and bulky extras in a way that kids can access on their own. This guide walks through the exact five steps I use in my own house and in homes I help organize. The Onlyeasy under-bed storage organizer is the tool I come back to every time, and I will explain why at each stage.
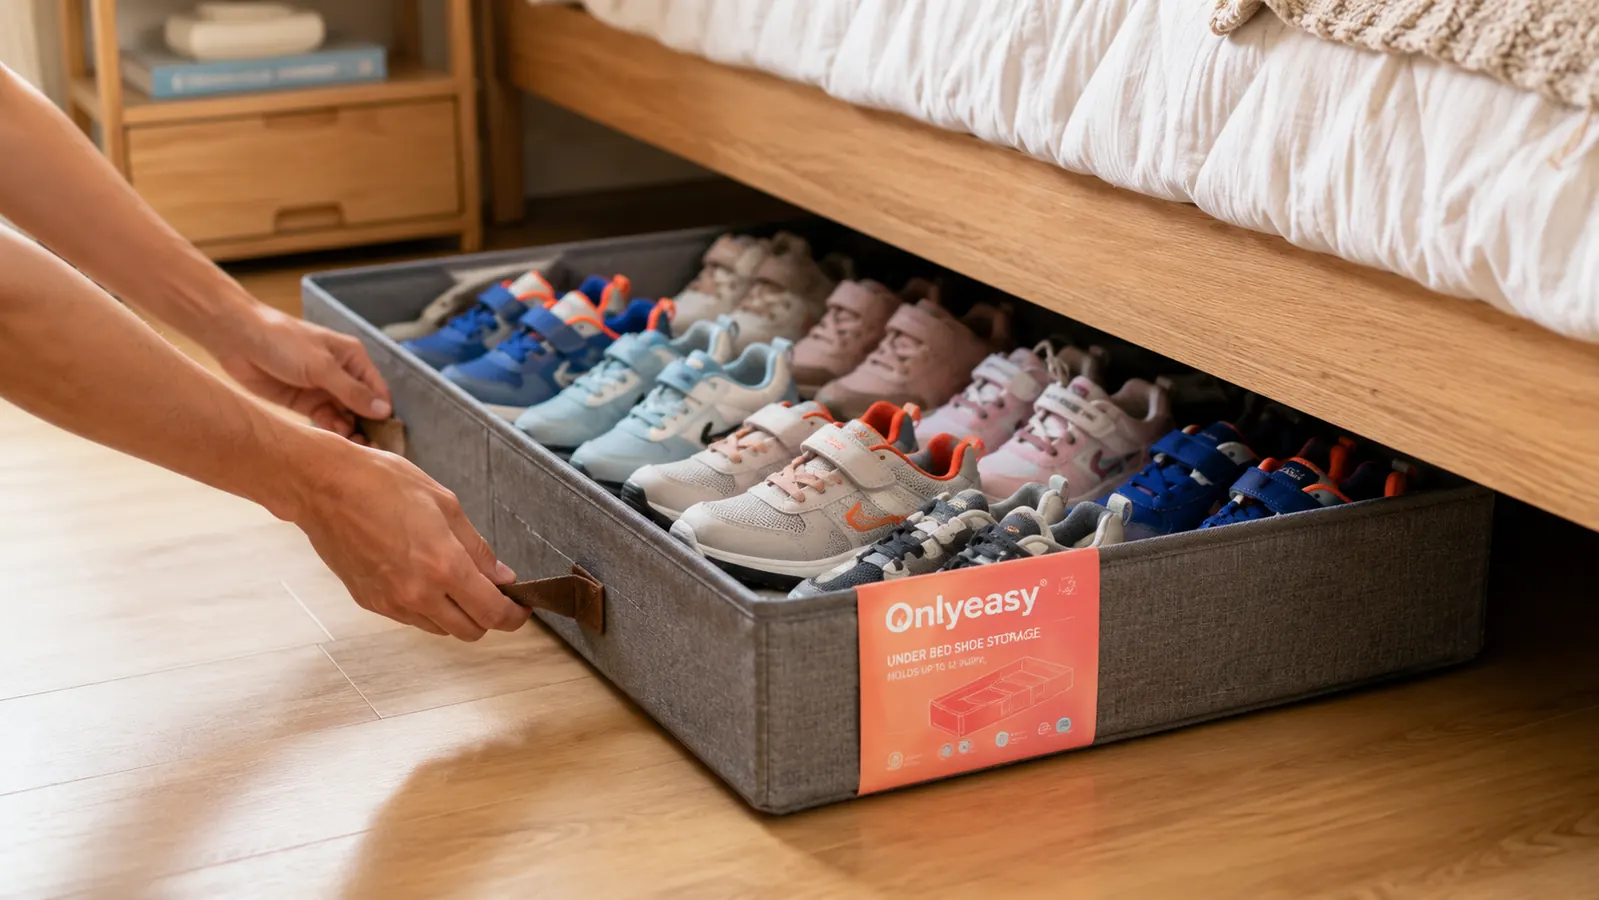
The under-bed organizer I use in all three of my kids' rooms
The Onlyeasy set holds up to 24 pairs of shoes per pair of trays, has sturdy side handles, and sits low enough to slide under most standard bed frames without forcing. Rated 4.5 stars across nearly 18,000 reviews.
Amazon Check Today's Price on Amazon →Step 1: Measure Your Clearance Before You Buy Anything
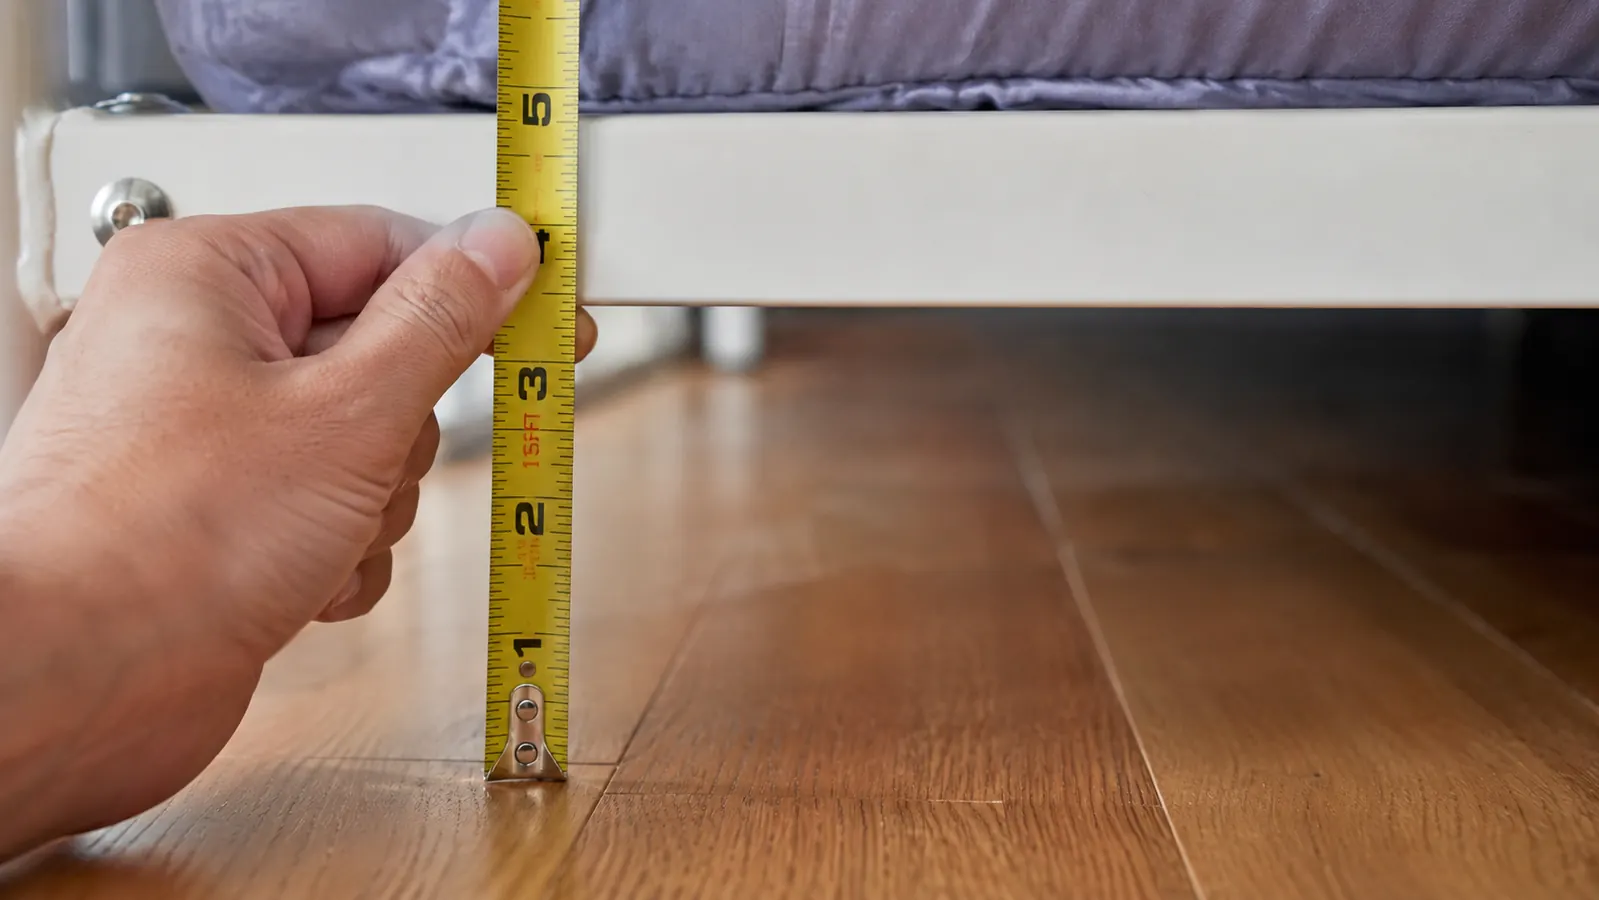
This is the step most people skip, and it is also the step that causes the most returned organizers. Bed frames vary a lot. A standard metal platform bed sits about 6 to 7 inches off the floor. A slatted wood frame can be as low as 4 inches. Box spring setups can give you a generous 12 inches. You need to know your number before you order anything.
Grab a ruler or tape measure and slide it under the frame at the lowest rail point. Measure vertically from the floor to the underside of the frame, not the mattress. Write that number down. The Onlyeasy under-bed organizer sits at roughly 3 to 3.5 inches collapsed, which means it slides under most frames with at least 4 inches of clearance. If your frame is lower than that, you have two choices: use a flat zippered bag-style organizer, or add a few bed risers to give yourself more height. Risers are inexpensive and can add 2 to 3 inches, which changes what is possible.
Do this measurement in every room you are planning to organize. Kids' beds and guest beds often have different frames. My three kids have two different frame heights across three rooms, so I bought risers for one and used the organizer directly under the other two. Fifteen minutes of measuring saved me two return shipments. That is worth the bother.
Step 2: Pull Everything Out from Under the Bed Right Now
Before you put any system in, you need to start with an empty space. Pull everything out from under the bed and set it on the floor. Whatever comes out falls into one of three categories: it belongs somewhere else and just migrated here, it belongs under this bed and needs a proper home, or it is garbage and needs to go. Most of what I find in kids' rooms is option one or option three.
While the space is empty, take a moment to vacuum or sweep the floor under there. Dust collects faster under beds than anywhere else in a room, and if you are about to put fabric organizers on that surface you want to start clean. This also gives you a visual of the full footprint you are working with, which is usually larger than people expect once you see it empty. In Lily's room, it was nearly six feet wide. That is meaningful real estate.
This step is not optional. Every organizing project I have ever helped with that failed did so because the person skipped the purge and just added containers to an existing mess. Containers do not solve clutter. They organize things that should be there. Start clean and your system has a chance to stick.
Step 3: Decide What Actually Belongs Under This Bed
Not everything goes under the bed. This is a medium-access zone, meaning you should store things you need occasionally but not every single day. The best candidates are shoes that are not in current rotation (off-season shoes, dress shoes, cleats for a sport that is between seasons), extra bedding that does not fit in the linen closet, seasonal clothing that has been outgrown and is waiting for a younger sibling, and bulky items like extra pillows or a small fan.
The Onlyeasy organizer is marketed as a shoe organizer, and that is genuinely its best use case. It holds 12 to 24 pairs per set depending on how you load it, the open top makes grabbing a specific pair fast, and the handles on both ends mean you can slide the whole tray out in one motion rather than rooting around blind. My son Jake keeps his baseball cleats, soccer cleats, and two pairs of out-of-season sneakers in his tray. Lily keeps her dress shoes and the school shoes she is between sizes on.
If you are not storing shoes, you can absolutely use the same tray for folded sweaters, spare linens, or toy storage. The structure is firm enough to hold irregularly shaped items without collapsing. The only thing I would keep out of under-bed storage is anything that needs to be accessed every day, like a school backpack or current-rotation shoes. If you find yourself pulling the tray out and pushing it back in twice a day, it belongs somewhere easier to reach.
Step 4: Load and Label the Organizers
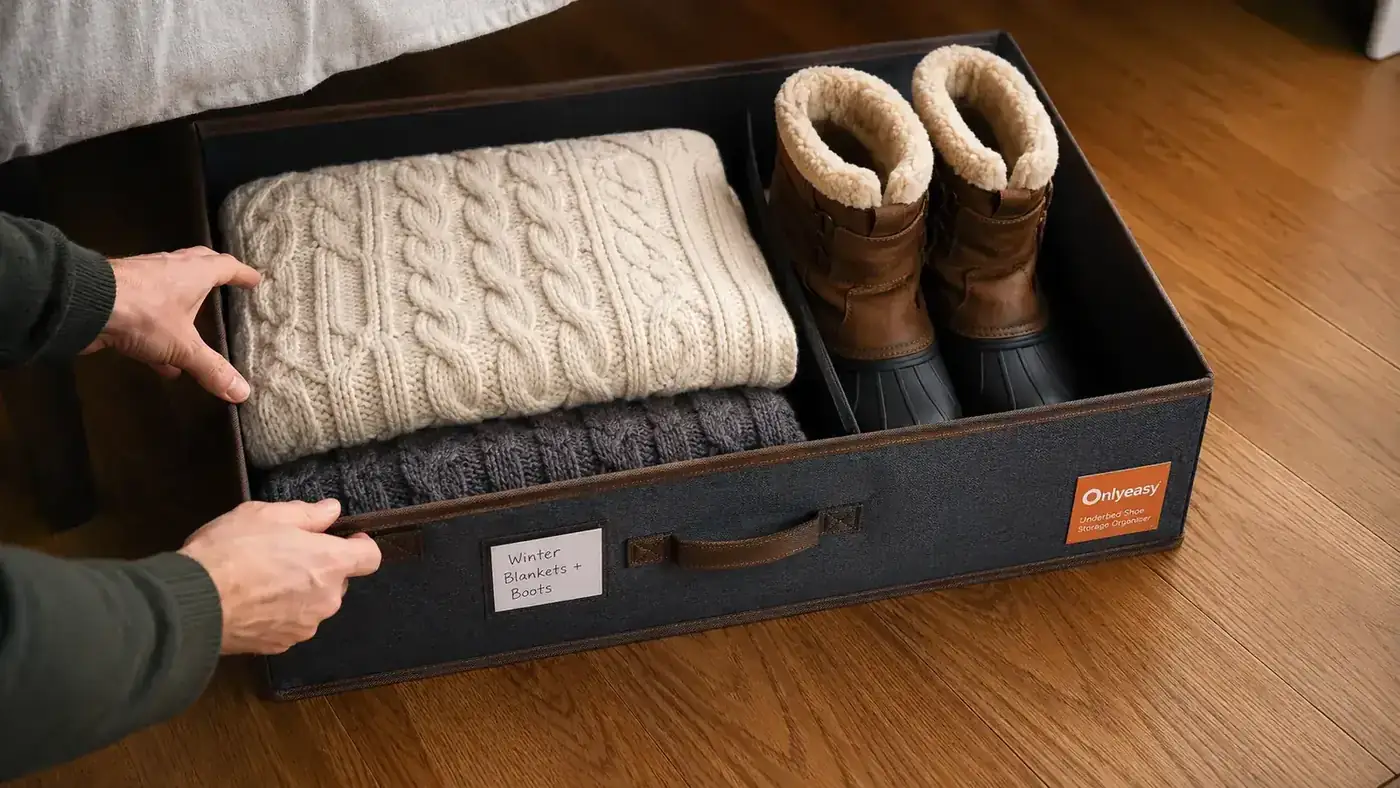
Once you know what belongs under this bed, load the Onlyeasy trays before you slide them under. It is much easier to arrange shoes and fold items on the floor at waist height than it is to reach under a frame and adjust things blind. Group similar items together within each tray: casual shoes on one half, athletic shoes on the other, or one tray per category if you have two trays to work with.
Labels make a bigger difference with kids than most parents expect. A simple handwritten tag tied to the front handle with a piece of twine is enough. I write things like "Lily's soccer shoes + dress shoes" or "Jake's off-season sneakers." When kids know exactly what is in each tray and where to find it, they actually put things back. The label does two jobs: it tells them where to look, and it tells them where to return. Without it, things migrate, and the tray becomes a mystery box that no one wants to touch.
If you have a shared room with two kids and two trays, use a different colored marker or a sticker dot on each handle so ownership is obvious at a glance. This removes the argument before it starts. I learned that one the hard way in my boys' room.
Step 5: Set a Seasonal Reset and Stick to It
The reason under-bed storage fails in most homes is not the product, it is the lack of a reset schedule. The Onlyeasy trays will hold up for years, but if you never pull them out to swap out seasonal items, the storage quickly becomes stale. You end up with last summer's sandals still in there in December because no one ever pulled the tray out to check.
I do under-bed resets twice a year, in September and in March. Those two dates align with school starting and spring sports starting, which are natural moments when shoes and gear change anyway. I pull every tray out, do a quick sort, remove anything that no longer fits or is no longer in season, and reload with what belongs for the next six months. It takes about 20 minutes per room. The kids help now because they know the routine and they like having a say in what goes in.
If you have a seasonal reminder app or a paper calendar you actually use, drop a recurring note on those two dates right now. That one habit is the difference between a system that stays organized for two years and one that looks great for three weeks and then turns into a junk drawer with handles. The Onlyeasy trays earn their keep every single day, but only if you give the system a refresh when the seasons turn.
What Else Helps
The Onlyeasy organizer does the heavy lifting in the under-bed zone, but a few small extras make the whole system work better. First, if your frame is low, bed risers are a genuine quality-of-life upgrade. An extra 2 inches of clearance turns a barely-fits situation into a comfortable one where the tray slides in and out without scraping. Second, consider keeping a flat brush or a vacuum attachment near the room specifically for under-bed cleanups. Because the trays hold things slightly above the floor surface, dust collects around the perimeter. A quick sweep every couple of months keeps it from getting out of hand and keeps the trays looking tidy rather than gritty. Third, if you are organizing under a bed in a shared room, use a different color label or a small colored dot sticker on each child's tray so ownership is immediately clear. When two kids share a room and one tray is labeled and one is not, the labeled one stays organized and the unlabeled one becomes communal chaos inside of a week. Those small details are what make a system stick with real kids in a real home over the long run. For a deeper look at how the Onlyeasy organizer holds up over a full season of daily use, see my full season review. And if you are weighing under-bed storage against an over-door shoe rack for a room with limited bed clearance, I break down both options in detail in my side-by-side comparison.
The floor was not the problem. The storage system was the problem, because there was not one. The fix was twelve inches below the mattress the whole time.
Ready to clear the floor? Start with the right under-bed organizer
The Onlyeasy set of two trays fits 12 to 24 pairs of shoes, has firm structure that holds its shape, and slides out cleanly with side handles. It is the first thing I reach for when someone tells me their kid's bedroom floor is out of control.
Amazon Check Today's Price on Amazon →